EC2 Nginx HTTPS 설정하기 (Certbot 사용)
항상 프로젝트를 배포하고 마지막에 진행하는 작업은 HTTP 프로토콜을 HTTPS로 변경하는 작업이었다. 항상 이 작업을 할 때마다 복잡한 과정에 대한 이해를 하지 않고 진행하다 보니 에러가 생겨도 어디가 원인인지를 찾기가 굉장히 힘들었다.
EC2 Nginx HTTPS 설정하기 (Certbot 사용)
- 항상 프로젝트를 배포하고 마지막에 진행하는 작업은 HTTP 프로토콜을 HTTPS로 변경하는 작업이었다.
- 항상 이 작업을 할 때마다 복잡한 과정에 대한 이해를 하지 않고 진행하다보니 에러가 생겨도 어디가 원인인지를 찾기가 굉장히 힘들었다.
- 앞으로도 있을 수많은 HTTPS 설정을 위해 간단하고 쉬운 방식을 정리해 놓으려고 한다.
HTTPS 동작 원리
- 클라이언트와 서버 간의 통신이 암호화되지 않은 HTTP와 달리, 암호화되어 다른 사람이 해당 내용을 알 수 없도록 한다.
- HTTPS는 HTTP 프로토콜에 암호화를 담당하는 SSL/TLS 프로토콜을 추가한 프로토콜이다.
- SSL/TLS는 웹사이트의 신뢰성을 보장하는 인증서가 핵심이다.
- 우리는 Let’s Encrypt라는 무료 인증 기관을 통해 인증서를 발급받을 예정이다.
- 인증서를 발급받는 과정에서 설정과 갱신 과정이 복잡하므로 해당 과정을 자동화하는
Certbot을 사용할 것이다.
HTTPS 적용 과정
1. Certbot & nginx 설치
- Nginx, Certbot과 NGINX 플러그인을 설치한다.
Debian 계열
1
2
3
sudo apt update
sudo apt install certbot python3-certbot-nginx
sudo apt install nginx
RPM 계열
1
2
3
sudo yum update
sudo yum install certbot python3-certbot-nginx
sudo yum install nginx
python3-certbot-nginx를 설치함으로써 nginx와 통합하여 SSL/TSL 인증서를 발급, 설치, 구성, 재발급 작업을 자동화한다.
2. Certbot 실행
- Certbot의 NGINX 플러그인을 사용하여 인증서를 발급받고 설정을 자동으로 변경합니다.
sudo certbot --nginx

- 인증서를 적용할 도메인을 입력하라고 한다.
- 이때 본인의 도메인 뿐만 아니라 서브도메인인 www까지 포함된 총 2개의 도메인을 입력한다. 예)
naver.com,www.naver.com
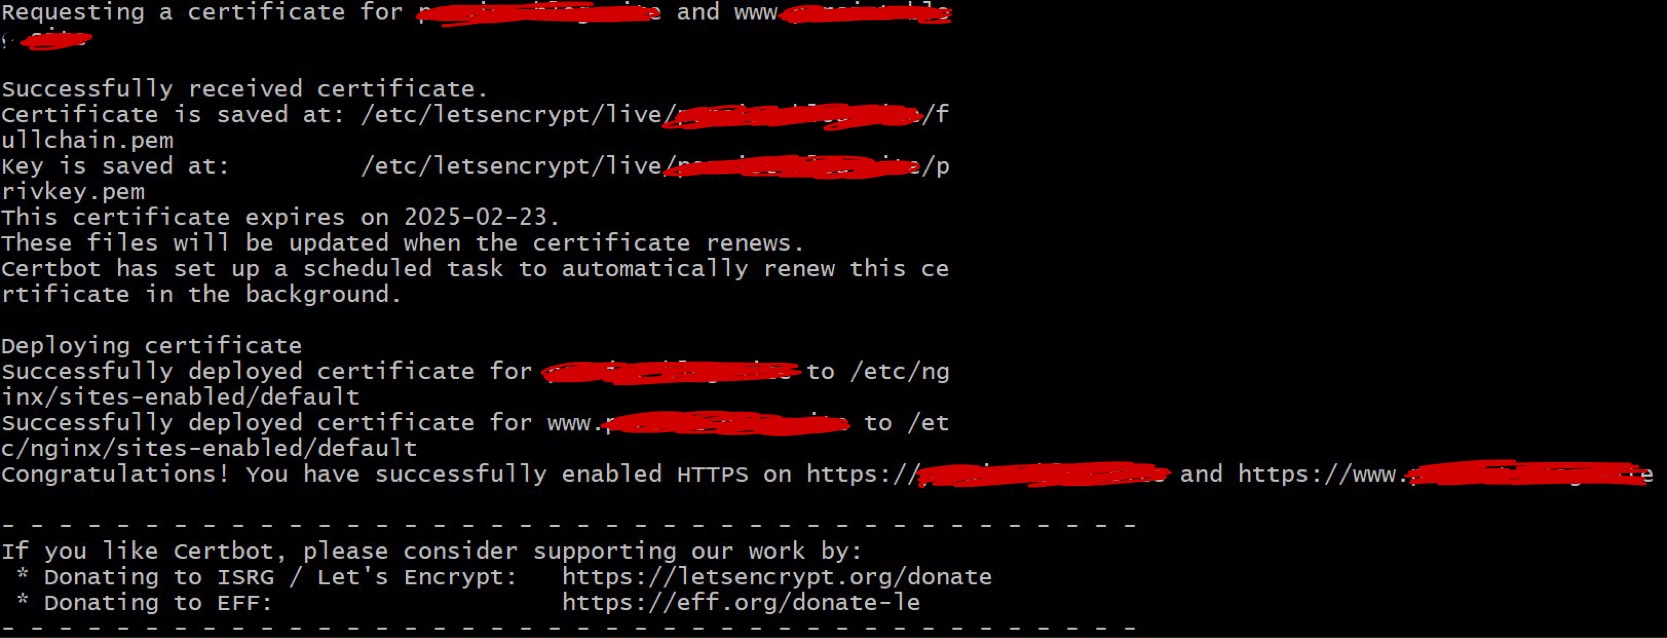
다음과 같이 입력한 도메인에 대한 인증서를 발급받을 수 있다.
- 필자는 인증서를 발급받은 적이 있으므로 별다른 과정을 거치지 않았지만 이메일 입력, ACME Server 등록 여부, 이메일 수신 여부 등을 선택하는 과정이 존재한다.
이때 ACME Server 등록은 동의를 하고, 이메일 수신 여부는 원하는대로 하면 된다.
- 인증서(certificate) 발급이 완료되었다고 뜨면, 개발자가 직접 해야하는 과정을 cerbot이 자동으로 수행한다.
- ertbot은 발급받은 인증서와 비공개 키를 올바른 위치에 구성한다.
- /etc/letsencrypt/live/{domain_name}/ 에 위치하게 된다.
웹 서버 nginx의 설정파일인 /etc/nginx/sites-enabled/default 파일에 자동으로 SSL/TSL부분을 업데이트한다. ``` server { listen 80 default_server; listen [::]:80 default_server;
1
2
3
4
5
6
7
8
9
10
11
12
13
 root /var/www/html;

 # Add index.php to the list if you are using PHP
 index index.html index.htm index.nginx-debian.html;

 server_name _;

 location / {
         proxy_pass http://localhost:8080;
         proxy_set_header X-Real_IP $remote_addr;
         proxy_set_header X-Forwarded-For $proxy_add_x_forwarded_for;
         proxy_set_header Host $host;
 } }
server { root /var/www/html;
1
2
3
4
5
6
7
8
9
10
11
12
13
14
15
16
17
    # Add index.php to the list if you are using PHP
    index index.html index.htm index.nginx-debian.html;
server_name persist-blog.site www.persist-blog.site; # managed by Certbot

    location / {
            proxy_pass http://localhost:8080;
            proxy_set_header X-Real_IP $remote_addr;
            proxy_set_header X-Forwarded-For $proxy_add_x_forwarded_for;
            proxy_set_header Host $host;
    }

listen [::]:443 ssl ipv6only=on; # managed by Certbot
listen 443 ssl; # managed by Certbot
ssl_certificate /etc/letsencrypt/live/persist-blog.site/fullchain.pem; # managed by Certbot
ssl_certificate_key /etc/letsencrypt/live/persist-blog.site/privkey.pem; # managed by Certbot
include /etc/letsencrypt/options-ssl-nginx.conf; # managed by Certbot
ssl_dhparam /etc/letsencrypt/ssl-dhparams.pem; # managed by Certbot }
server { if ($host = www.persist-blog.site) { return 301 https://$host$request_uri; } # managed by Certbot
1
2
3
4
5
6
7
8
9
if ($host = persist-blog.site) {
    return 301 https://$host$request_uri;
} # managed by Certbot


    listen 80 ;
    listen [::]:80 ;
server_name persist-blog.site www.persist-blog.site;
return 404; # managed by Certbot } ``` - `managed by Certbot`주석처리가 되어있는 부분이 Certbot이 자동으로 설정한 부분이다. - 80포트로 접속 시 HTTPS포트인 443포트로 포워딩 시키는 설정이다. - Certbot이 자동으로 위치시켜놓은 인증서의 경로를 지정하여 사용한다. - HTTPS를 적용하기 위해 우리가 작성해야하는 nginx 설정 파일을 위와 같이 Certbot이 작성해준다.
3. 인증서 갱신 자동화
- Let’s Encrypt의 인증서는 90일이 만료기간이므로 만료기간이 지나기 전에 갱신작업을 진행해야한다.
- HTTPS설정을 자동화하는 Certbot은 갱신또한 자동화해주는 기능을 보유하고있다.
sudo certbot renew --dry-run
- 해당 명령어를 통해 갱신 자동화를 활성화 시킬 수 있다.
4. 확인
해당 명령어를 통해 nginx의 설정 파일이 올바른지 체크한다.
sudo nginx -t테스트에 성공했으면, nginx를 재시작하여 Certbot을 이용해 설정한 HTTPS를 적용한다.
sudo systemctl reload nginx
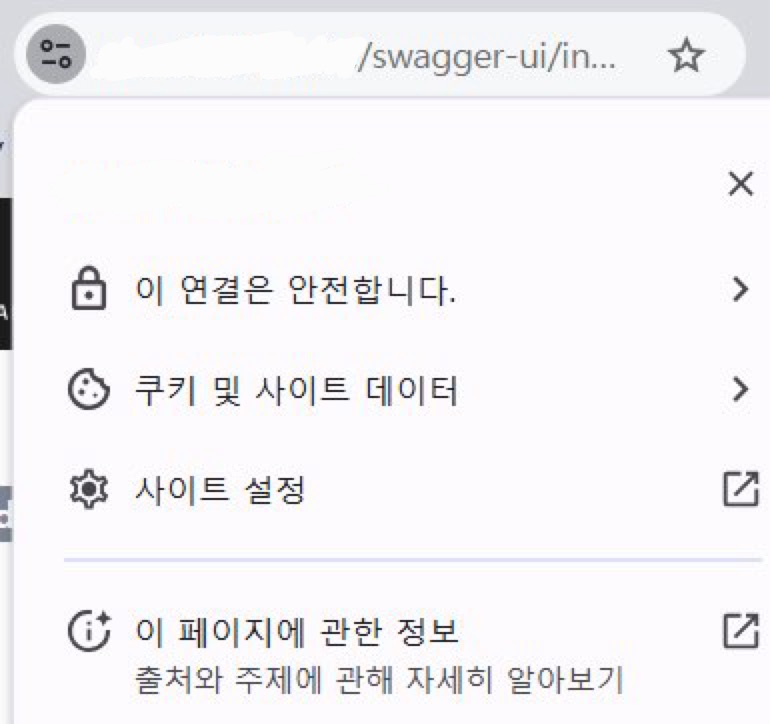
- 설정한 도메인으로 접속하면 다음과 같이 HTTPS프로토콜 연결이 완료됨을 확인할 수 있다.
원문: Velog
이 기사는 저작권자의 CC BY 4.0 라이센스를 따릅니다.